The precise method of deauthorising iTunes varies depending on which version you've got.
You should deauthorise your computer from the iTunes Store. This means it will no longer be linked to your iTunes account. (This is important because you can only use up to five Macs to play music and movies that are locked to your iTunes account.)
If you're running macOS Catalina, iTunes no longer exists as a standalone app, so you will instead access the iTunes Store via the new Music app.
Open the Music app, and select Music > Preferences from the menu bar. Now go to the General tab and select iTunes Store. From here you can access your account and choose to deauthorise this computer.
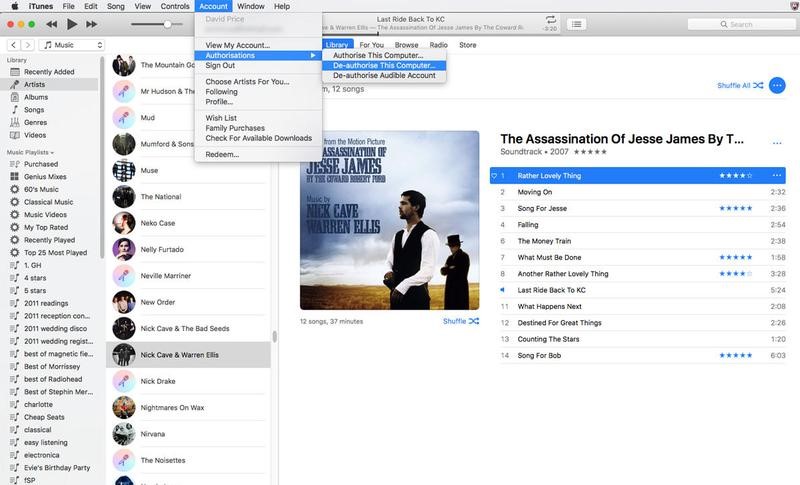
If you're running a Mac that has iTunes 12, you'll need to open iTunes and click Account > Authorisations > De-authorise This Computer. Enter your Apple ID and password and click De-authorise.
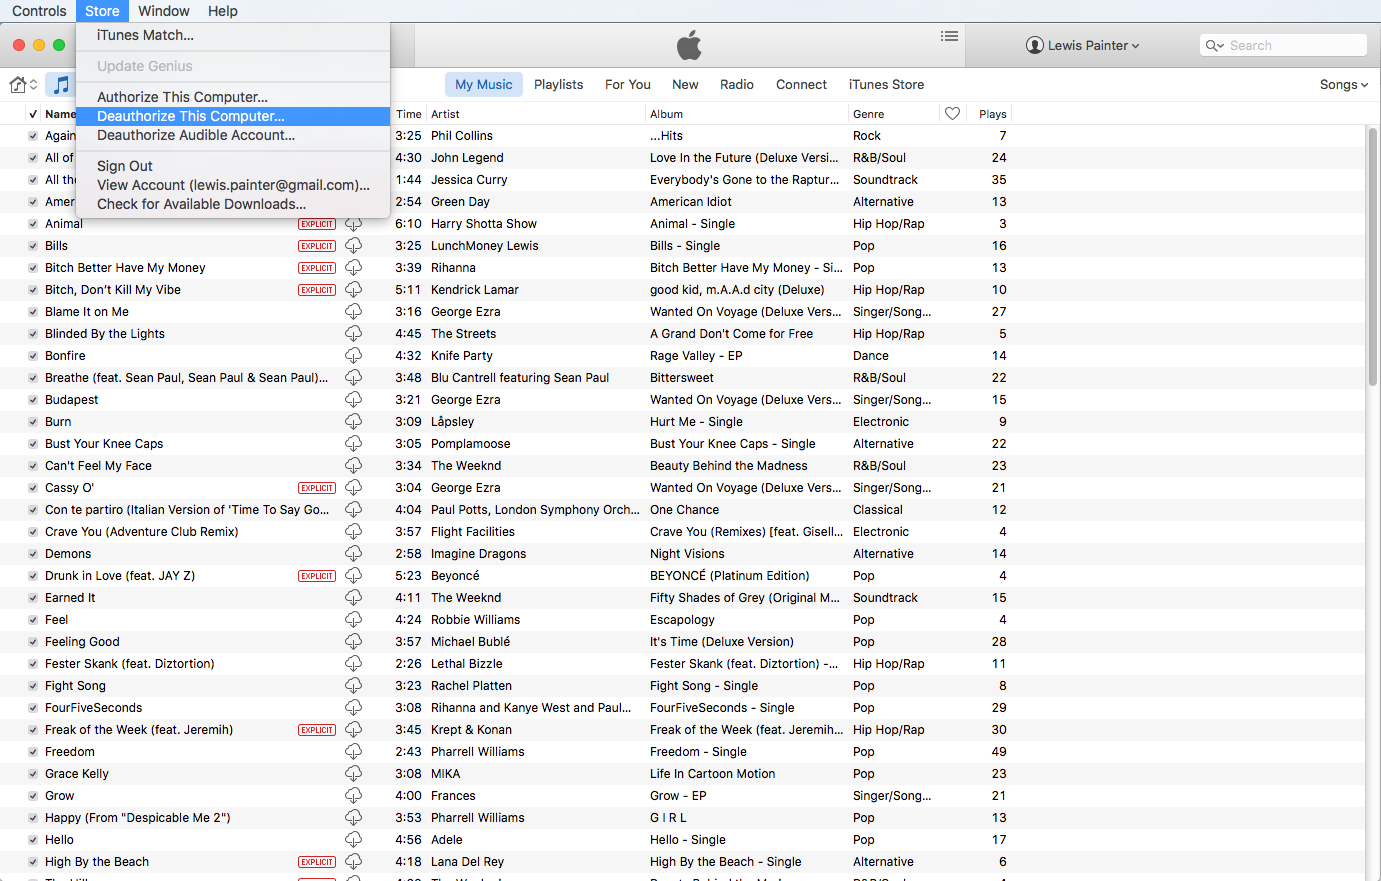
In older versions (below) you'll need to click Store > Deauthorise This Computer.
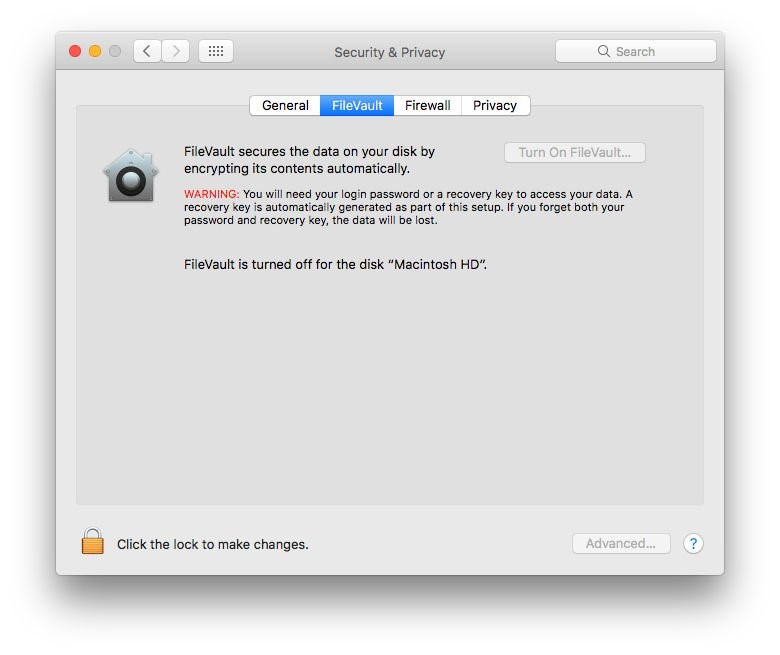
FileVault encrypts the files on your hard drive. It's not on by default, but if it is being used then it's advisable to turn it off before going any further (you'll be wiping the files soon, so security shouldn't be a concern).
- To turn off FileVault, start by opening System Preferences.
- Click on Security & Privacy.
- Then select the FileVault tab.
- Check that it says 'FileVault is turned off for the disc [name of main hard drive]'. If it's off you don't need to do anything.
- If if is turned on then you should click on the padlock icon in the bottom left, enter your user name and password and click on Unlock.
- Now click Turn Off FileVault.
- You will need to enter your user name and password again and you may need to wait while decryption takes place.
The next step is to turn off iCloud. Before you start, if you have any iCloud files that were created on that Mac they will be archived into your home folder (so remember to copy them to your backup).
- Open System Preferences and click on iCloud.
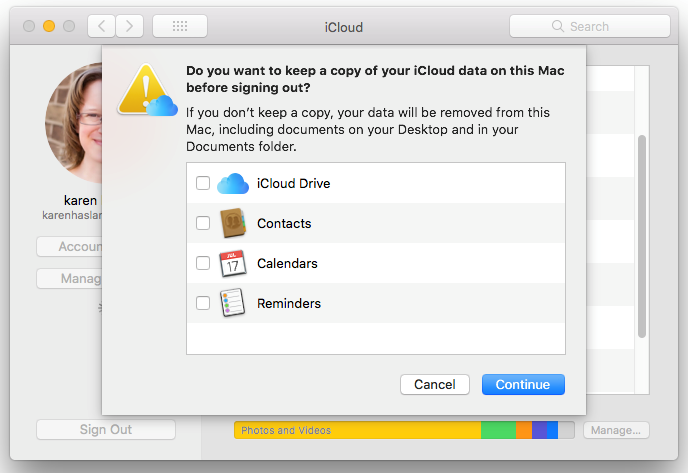
- Tap on Sign Out.
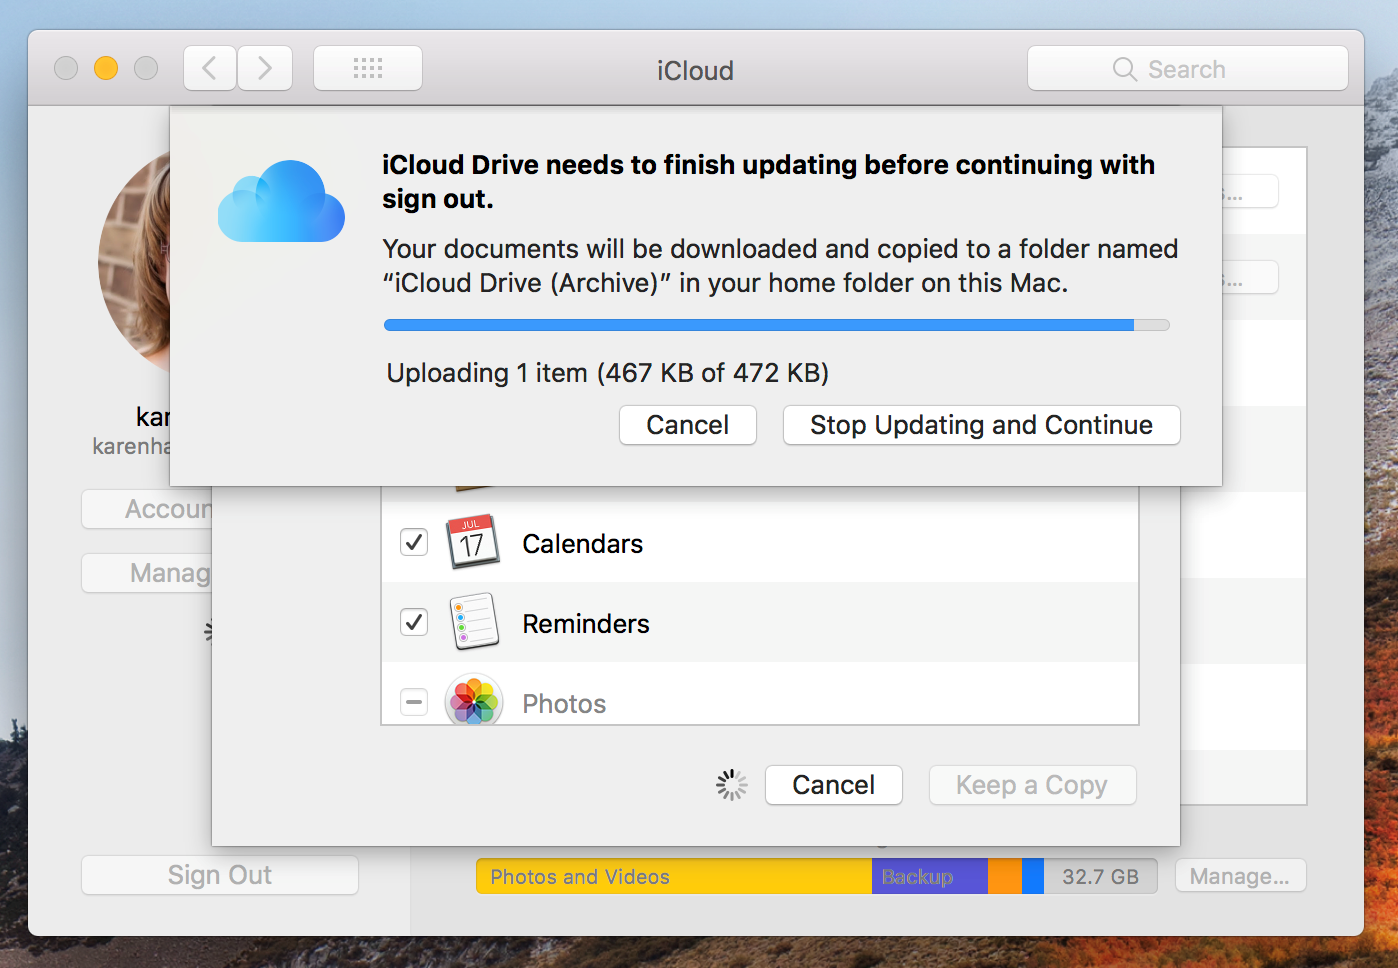
- To remove all your personal data, untick the boxes beside iCloud Drive, Contacts, Calendars and Reminders. Then click Continue. (Or click 'Delete From Mac' on each popup if you're using an earlier version of macOS.)
- You may see a warning that iCloud Drive needs to finish updating before continuing with sign out.
- If you've got a MacBook Pro or MacBook Air with Touch ID you will need to confirm that your payment details should be removed from the Mac. Signing out will remove any Apple Pay information.
- Next you will be required to enter your Apple ID password.
Now you just need to wait while iCloud does its stuff.
Now you're ready to erase your drive.
This is where things will look a little different if you are using macOS Catalina compared to how they looked before.
We'll run through the method in Catalina first before moving onto Mojave or previous versions of macOS below that.
How to delete your Mac in Catalina
When Apple introduced macOS Catalina in 2019 it added a new read-only volume where the operating system lives. This volume is Macintosh HD (yours may have a different name). Alongside it you will also have a Macintosh HD - Data volume. This is where your data resides. The reason Apple separated the two volumes in Catalina is to ensure that critical operating system data can't be overwritten - but it means that if you want to make sure all traces of your data are removed from your Mac before selling it on, or because you want to do a clean install, you will need to wipe both volumes.
When you are reformatting your Mac in Catalina you first need to delete the Macintosh HD - Data volume before deleting Macintosh HD. You do need to delete both, you can't cut corners.
- As per the step above, start up your Mac in Recovery by holding down Command + R as the Mac boots up.
- Once Recovery starts up choose Disk Utility.
- You should see two disks - Macintosh HD and Macintosh HD - data (shown below - sorry about image quality!) This new data drive in Catalina is where your data is stored separately to the macOS installation.(It's possible your drive is called something else, like Home HD for example).
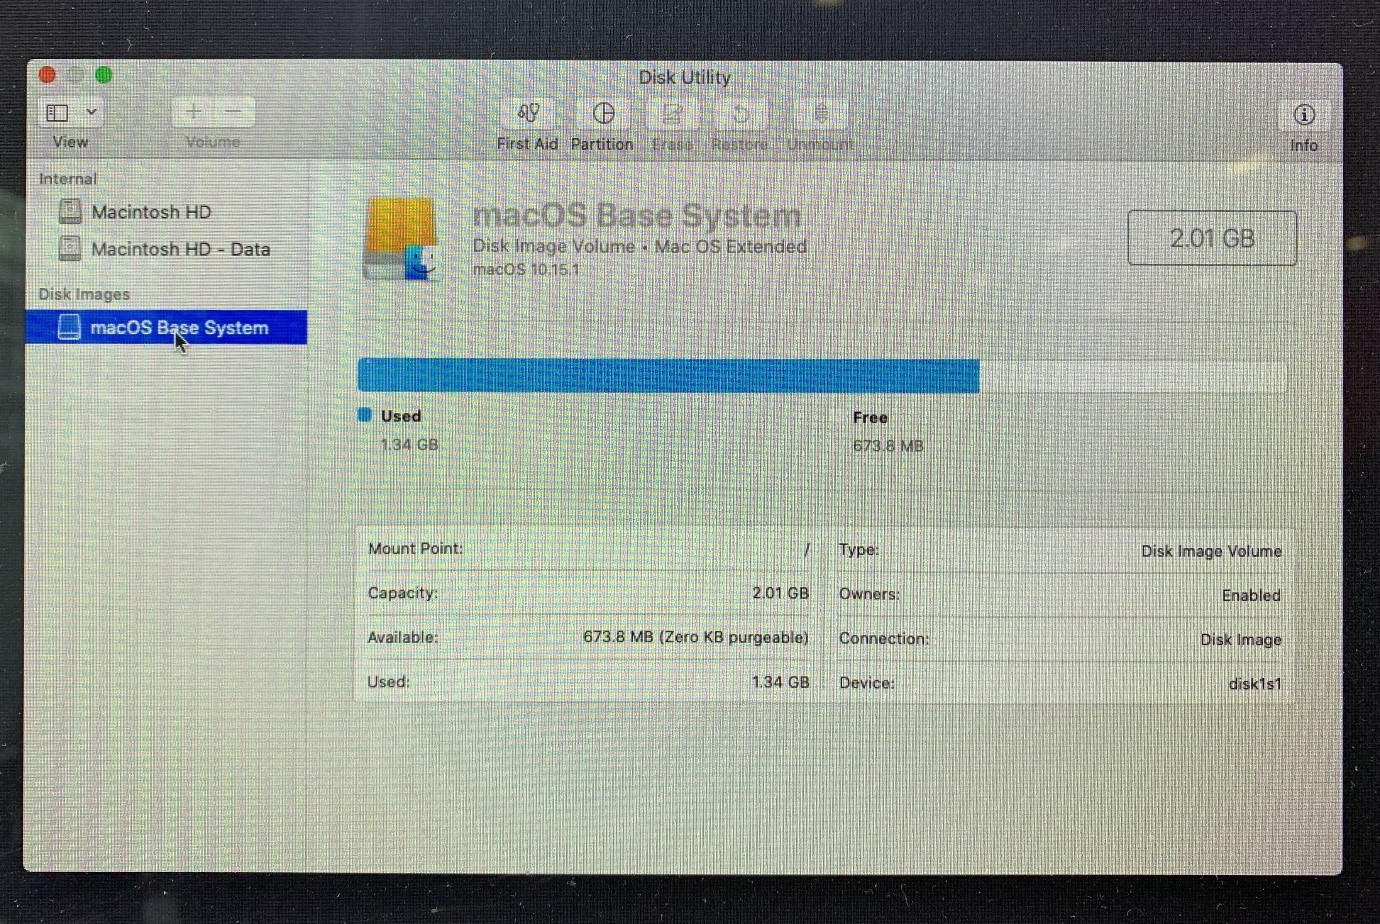
- Click on this Macintosh HD - Data drive to select it.
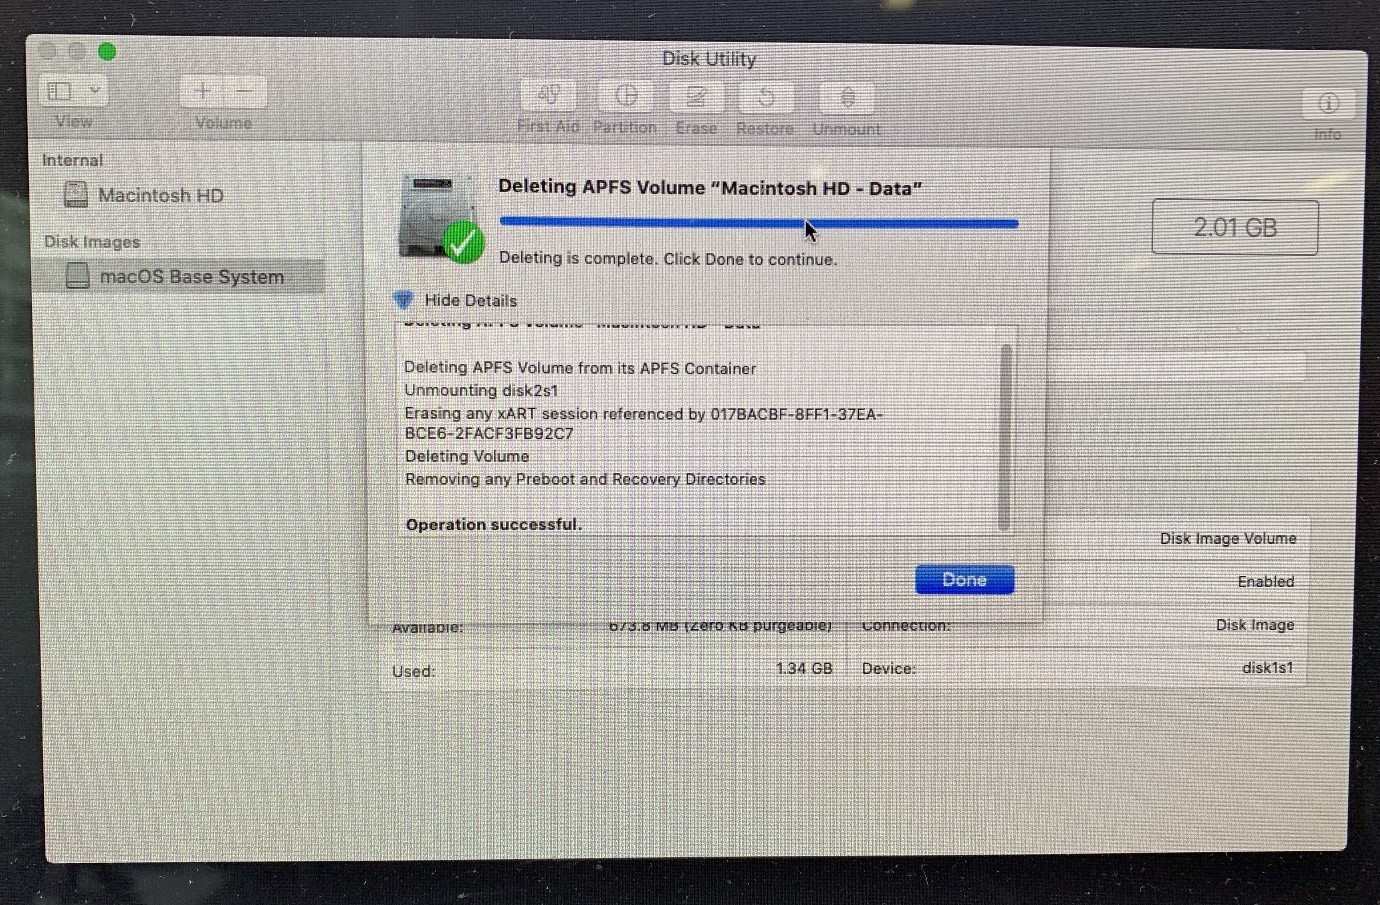
- Either click on the - button or go to the menu and choose Edit > Delete APFS volume.
- You will see a message warning you that this will permanently erase your data. Click on Delete. Do not choose Delete Volume Group.
- Wait while the volume is deleted.
- Now you need to go back to Disk Utility to delete the Macintosh HD. You have to do both steps as you won't just be able to reinstall macOS over the top of macOS. And you will need to reinstall the macOS in order to recreate the Macintosh HD-Data volume. Click on Macintosh HD to select it.
- We recommend that you click Unmount. Initially when we tried to delete Macintosh HD we saw an error message that stated: Erase process has failed because volume Macintosh HD on disk 2s5 couldn't be unmounted because it is in use by process 793 (kextcache). Unmounting first fixed this problem.
- With Macintosh HD still selected click on Erase.
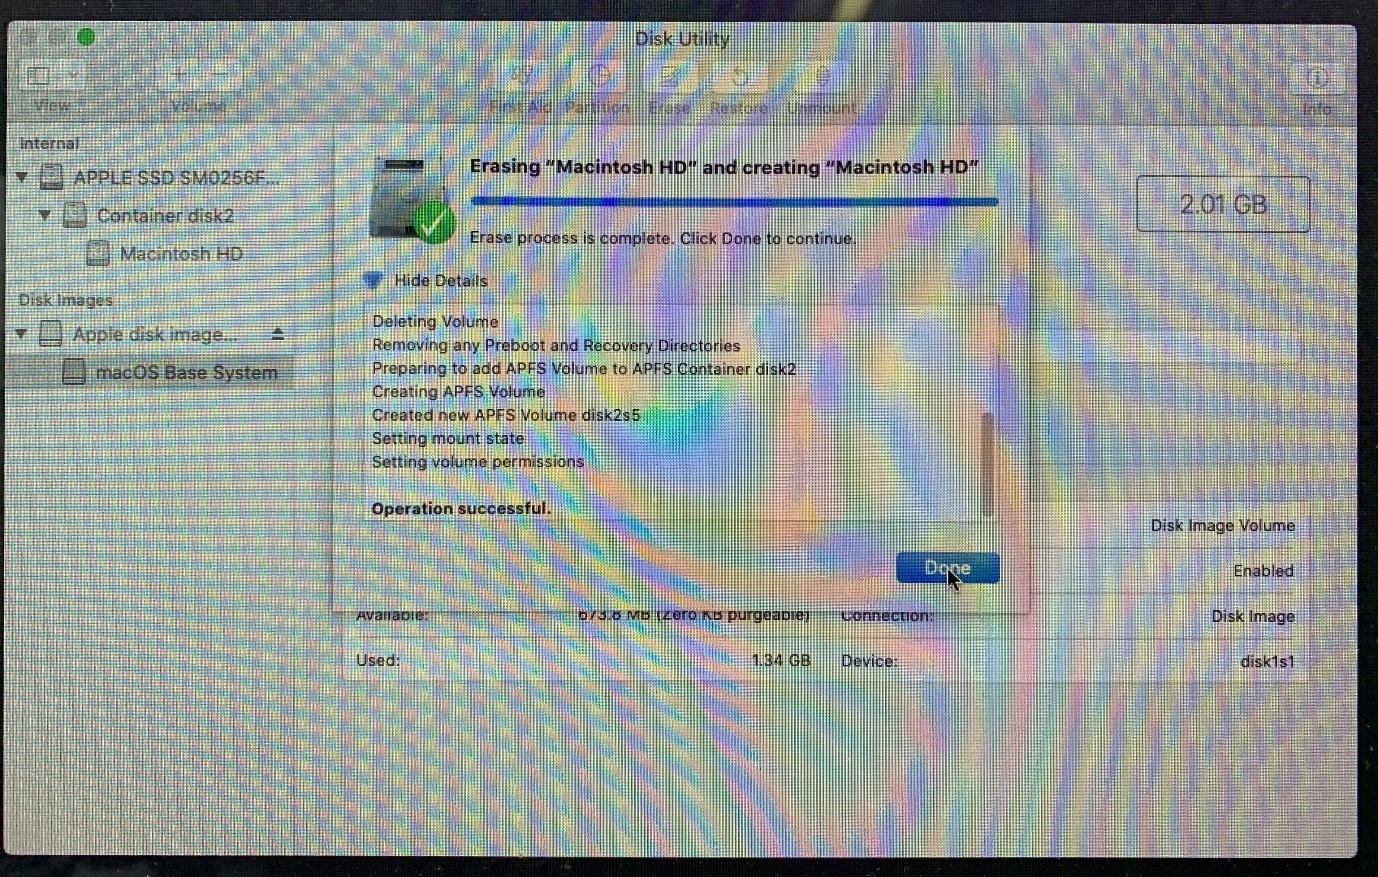
- Enter a name you want to give the drive once you have reformatted it, such as Macintosh HD.
- Choose the format. This is will be APFS if you are using Catalina - older OSs might have had the option of Mac OS Extended (Journaled).
- Click Erase and enter your Apple ID if required. Wait.
- Now quit Disk Utility to return to the MacOS Utilities screen.
The next step involves reinstalling macOS. We'll discuss how to do that in the section below.